
DryAF | MasterSpools.


To Begin.
In this tutorial we are using an 850g spool of Fiberlogy PET-G. I have pre-printed the Material ID Tags and the Desktop Protector. These can be downloaded here - Printed Parts.
Please review all steps in this tutorial before starting (it is 99% images).

First Material ID Tag.
Fitting a Printed Material ID Tag.


Installing The Spacers.


Take care to install the Spacers into the correct positions.


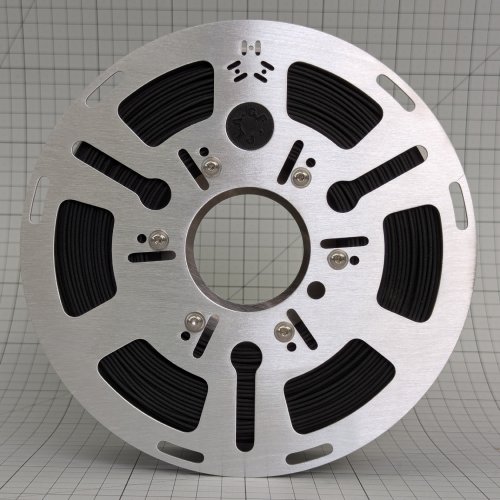
Unpack The Spool.
Put the part-assembled DryAF Spool onto the printed Desk Protector.


Take note of the position of the Cable Ties.

They have matching slots in the DryAF Spools.

Place the refill onto the part-assembled spool, align the cable ties with the slots.

Second Material ID Tag.


The Other Side.
Install the other side onto the spool.

Check you have aligned the cable ties with the slots.

Do not tighten down the bolts yet.


Snip.
Cut the three cables ties. You can do this from several positions, just check to see where the ends are.


Tigthen the Bolts.


Secure The Filament End.


Go Print!

Or store the spool for later use.


