

Vase 2.0 | The Plant Put.
Disclaimer - This has been written by an AI (Absolute Idiot), me, and I apologise in advance for any grammatical, theatrical, or spellling errors that may not have been missed.
The Preamble.
During the past ten years I, we, have seen incredible growth in the 3D Printing sector, and I have personally been involved with and, in some cases, been a part of the team who has led this flourishing.
However, there has been one overlooked aspect of 3D Printing that has remained the same since the very beginning. Vases, and their seemingly unchanging and ubiquitous use in 3D Printing press releases and marketing guff.
They are everywhere, and have been since the very beginning, even now at the bleeding edge of current technology, vases make their monolithic stand.
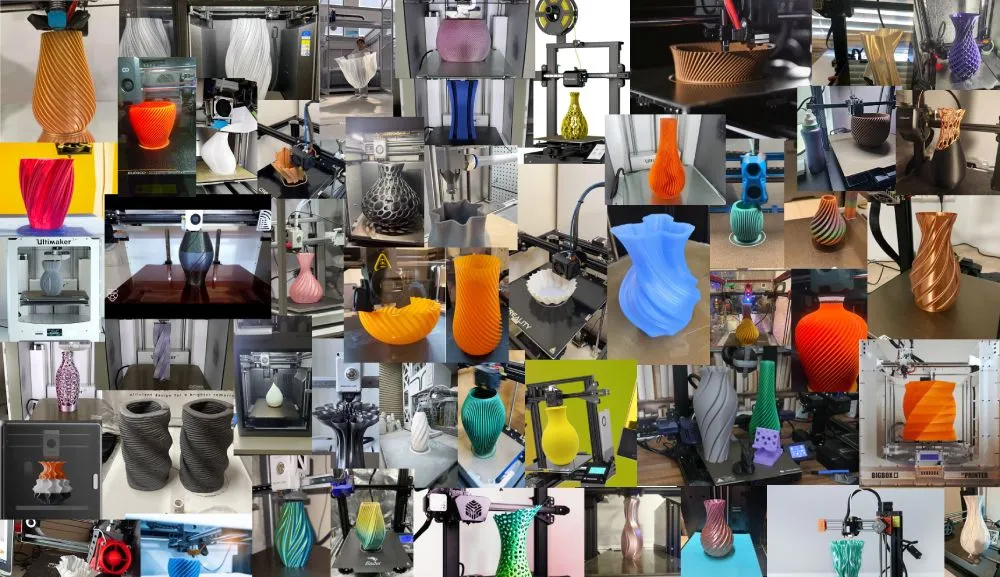
This year it is 2026 (I checked, twice), and it’s time for a change.
Macro Evolution.
After several minutes of deep and reflective thought, I have nursed to maturity what I think is the next step in the vase-line. The next generation of vasel technologies has been developed specifically to showcase new 3D Printers in press releases, marketing brochures, and modern social medias for the next decade or more.
A hole new era has arrived.
Vase 2.0 - The Plant Put.
Because you can put plants in it, not just pretty flowers.
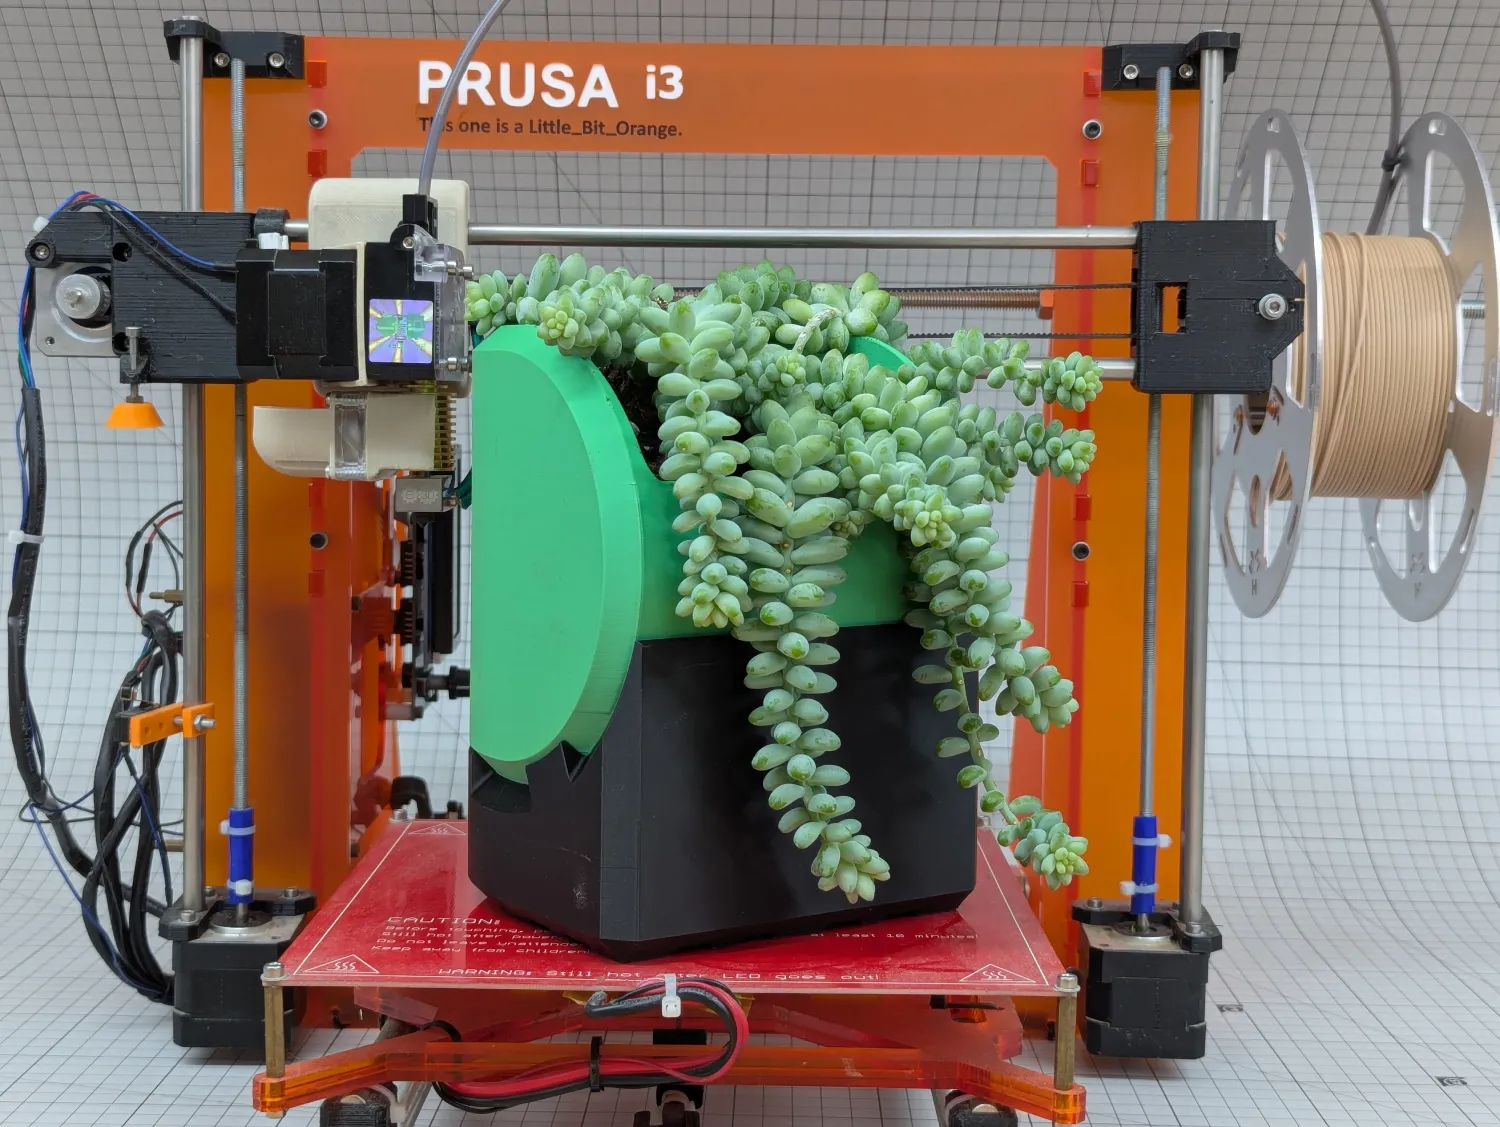
How is this possible?
It is so simple you'll be wondering why you didn't think of it yourself.
The Plant Put solves the challenging issue of not drowning your plants. If we put plants in the old Vase 1.0 design, and water it, there's nowhere for the excess water to go and this will suffocate the plant, and over time it will lead to rotten roots, which will all sadly kill off any growths. Vase 2.0 overcomes this highly complex and challenging problem.
The solution came to me during my monthly bath. Well, to be more specific, the thought popped up when I had finished the bath, and needed to get rid of the muddied water; the idea came when I pulled out the plug.
Like a bolt of lightening, the idea hit me the way being slapped across the face with a wet fish does, I was gobsmacked. What if we take a Vase, and put a hole in the bottom? The excess water can drain out, I can even put a tray underneath to stop the extra water spilling all over the windowsill. Genius!
After many months slaving in front of a computer, numerous design iterations, too many late nights (when I should really have been working on the solution), and the regrettable dropping of a bowl of petunias, I am finally ready to present to everyone the fundamental basics of Vase 2.0, and to hand it to the world for what will be, in the grand scheme of things, a very small amount of monies*.
Vase 2.0 - A Technical Analysis.
The Hole Story.
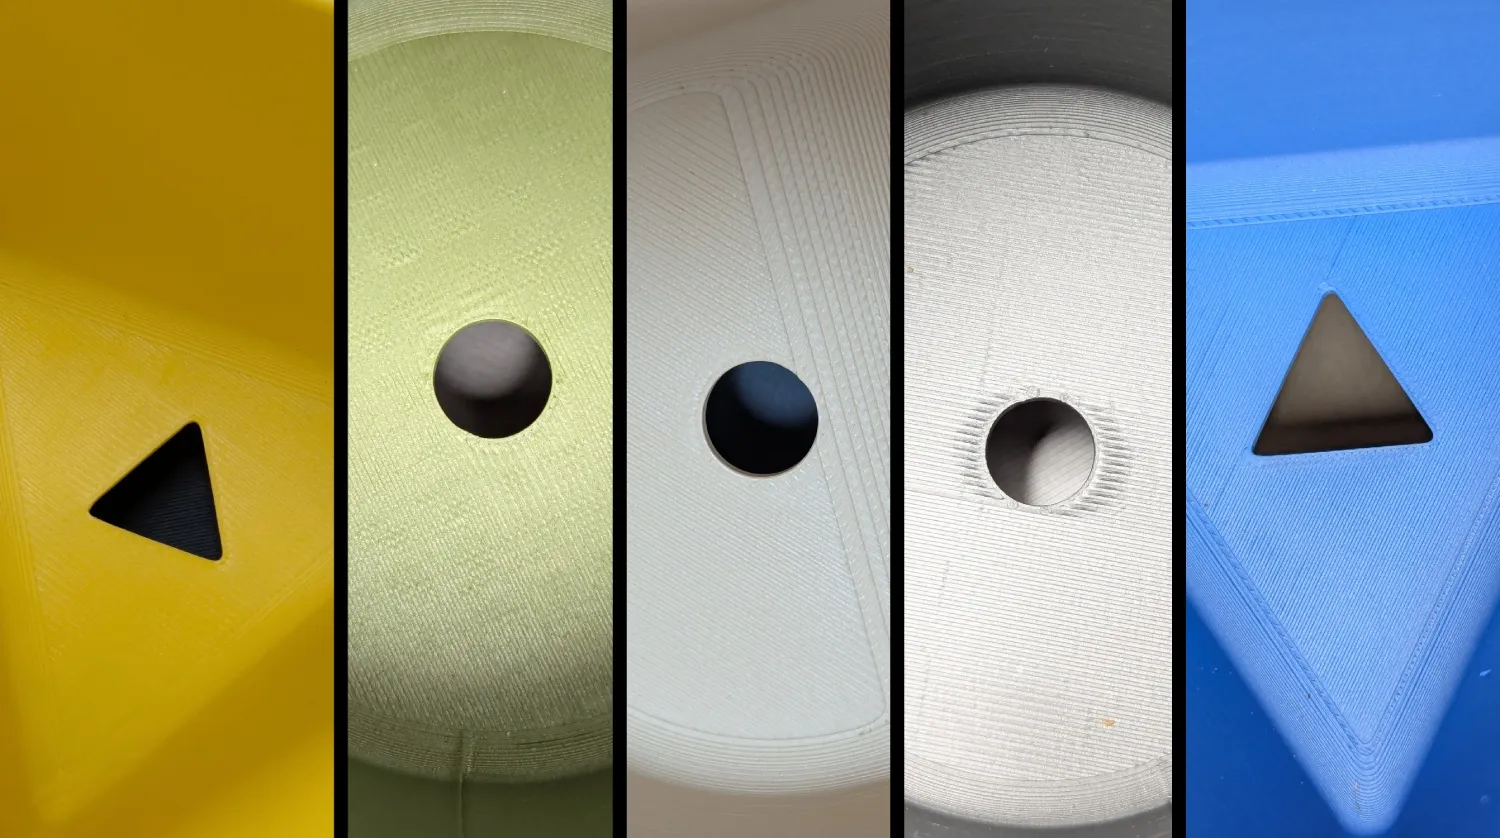
The main feature is, of course, the concentric drain hole, optimally placed (centrally), through the centre of the middle of the bottom of each Plant Put.
The Drain.
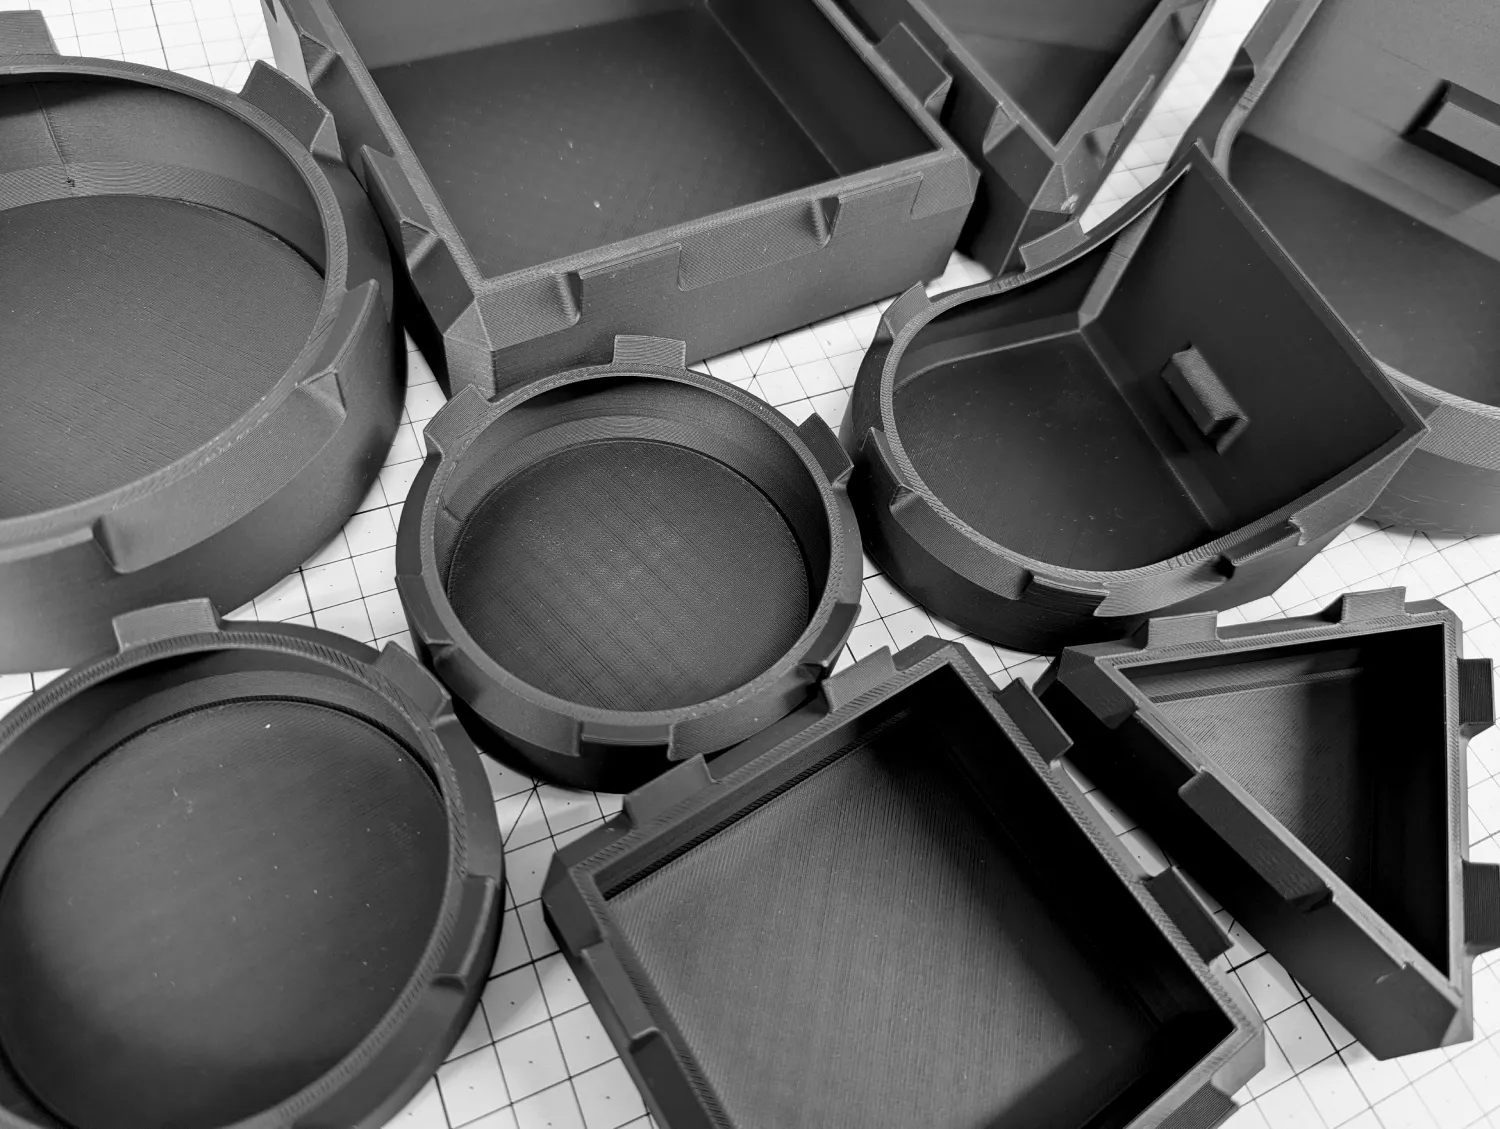
Each Plant Put comes complete with a matching lower drain collector. Designed to capture any excess water gushed forth by over-enthusiastic wetters. Specialised positioning 'tabs' placed around the perimeter of the Drain keep the Plant Put securely in place for reliable water collection.
Ribbed.
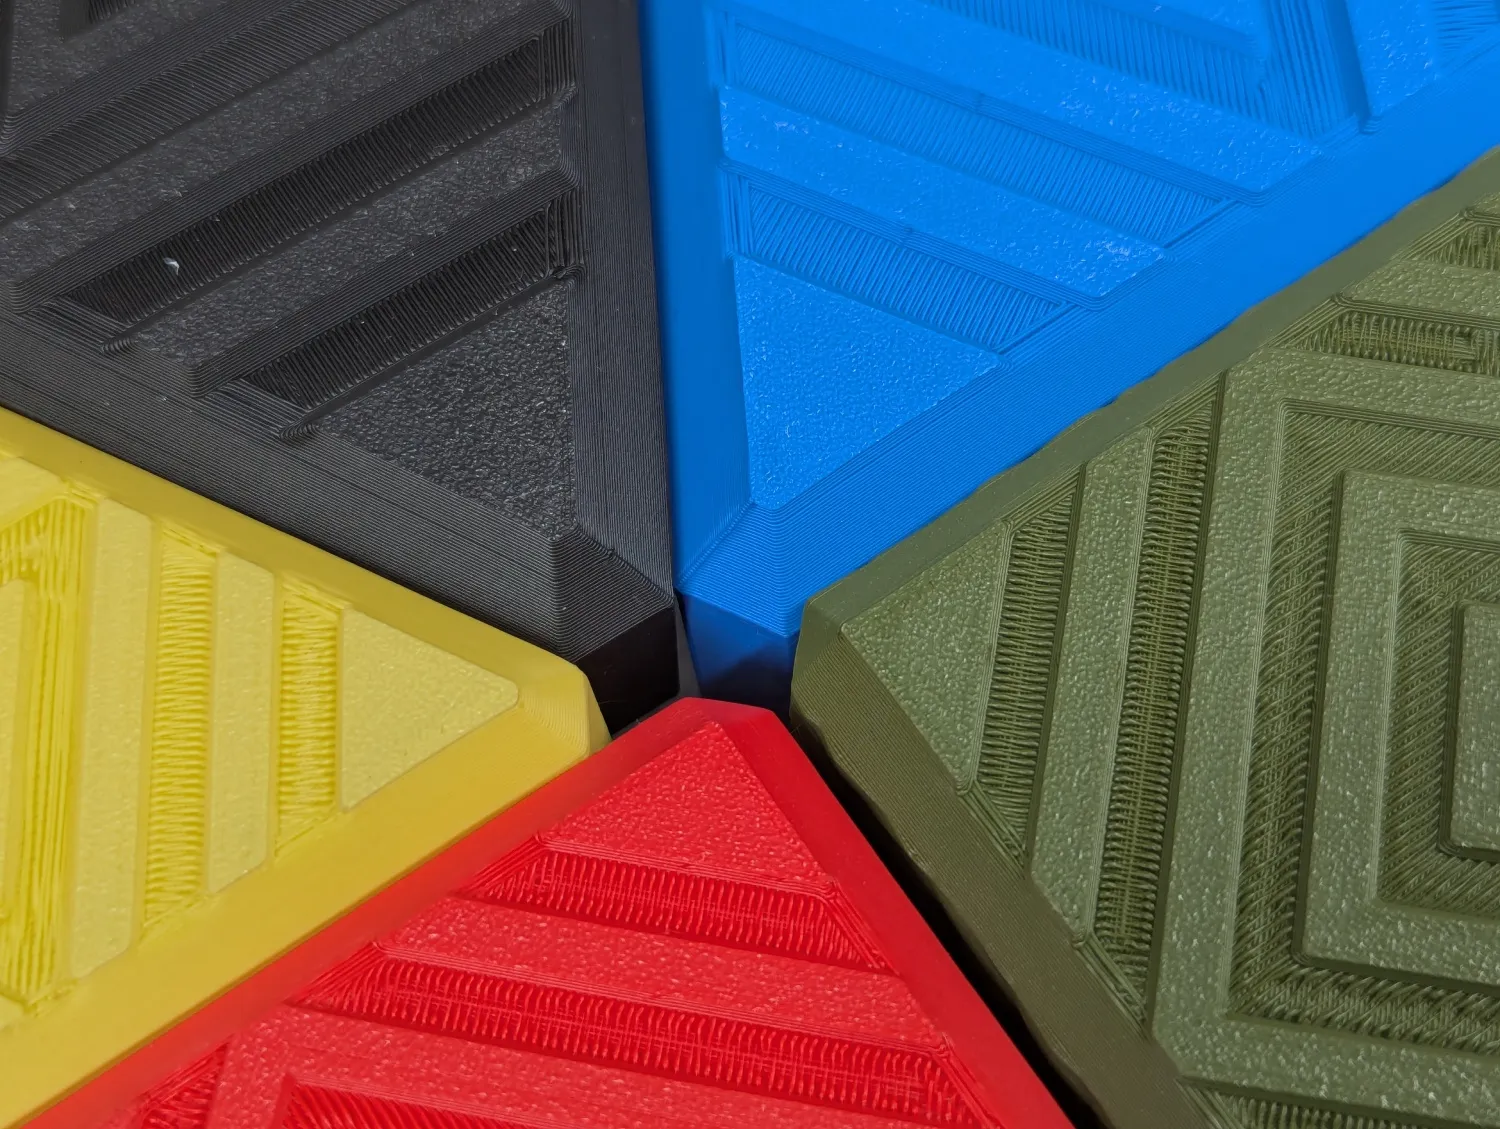
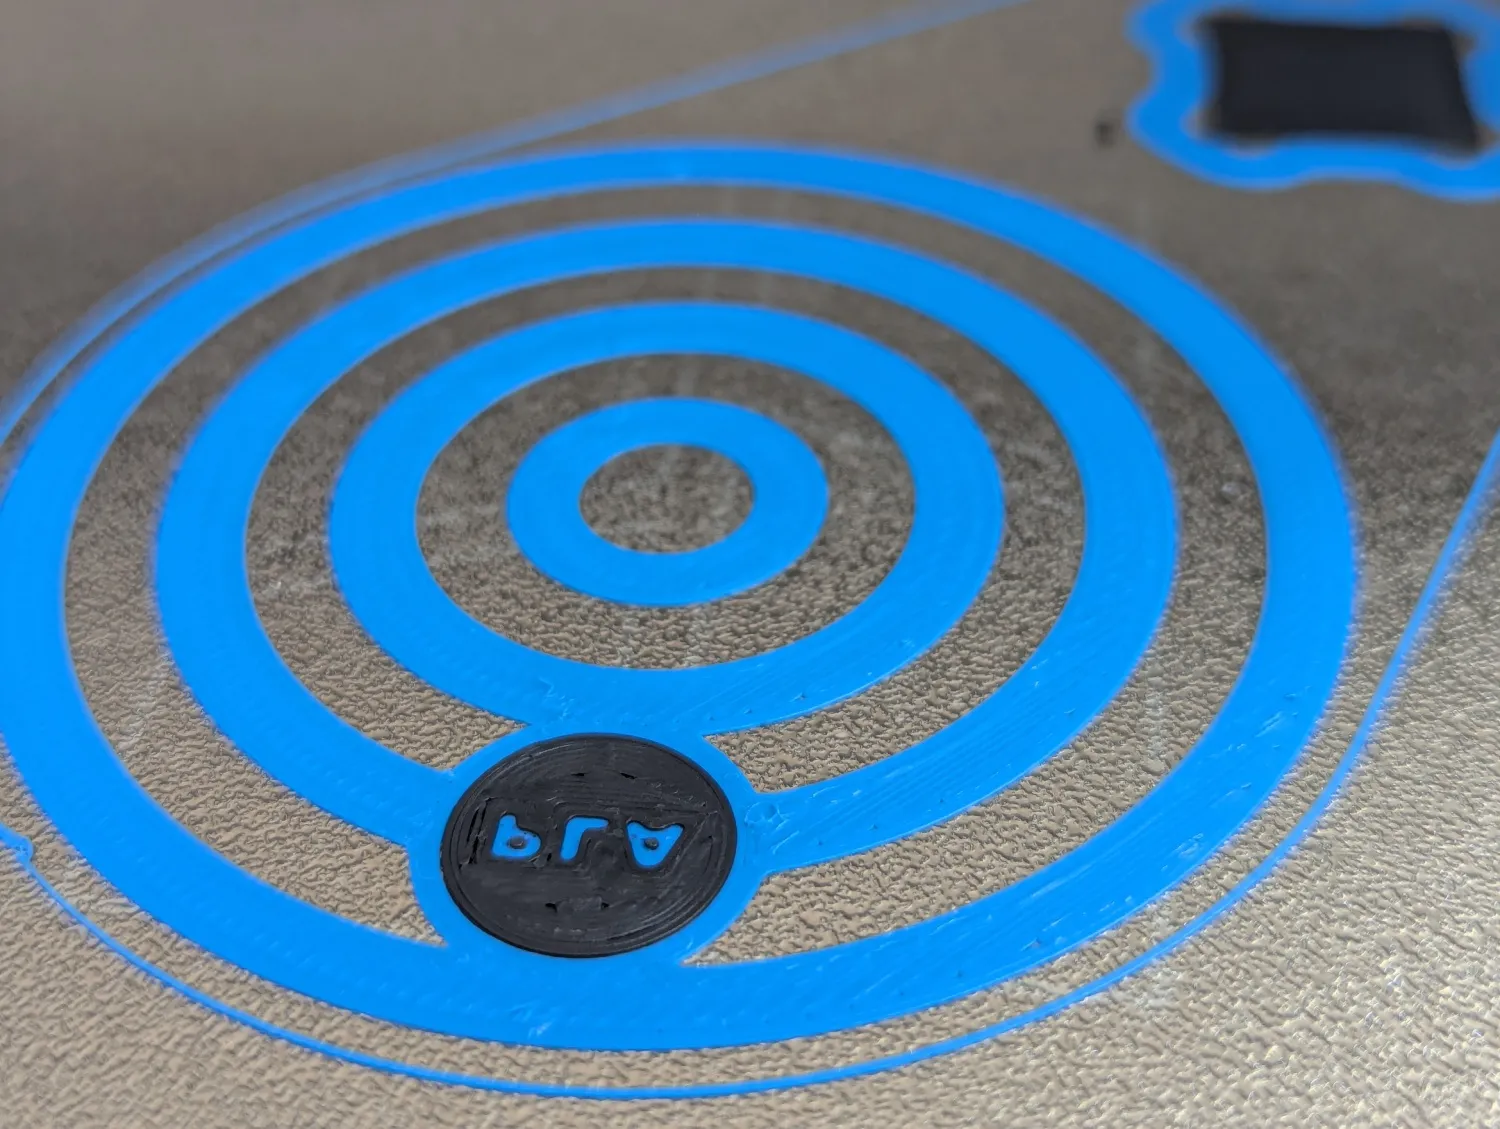
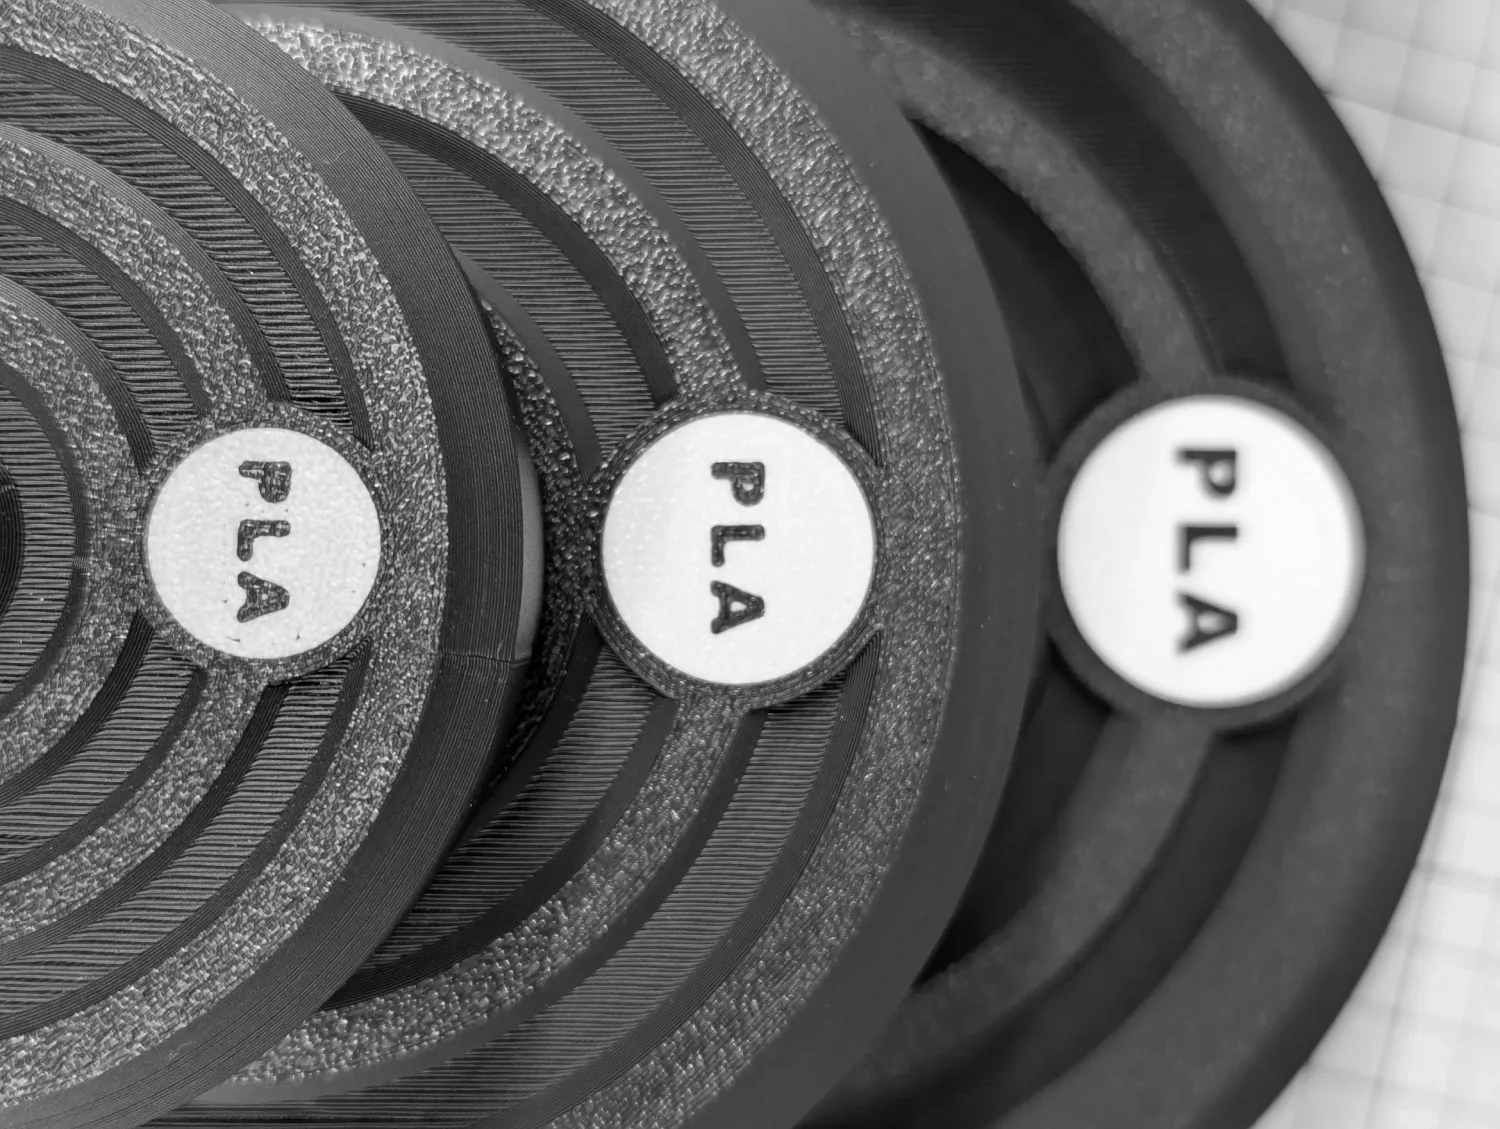
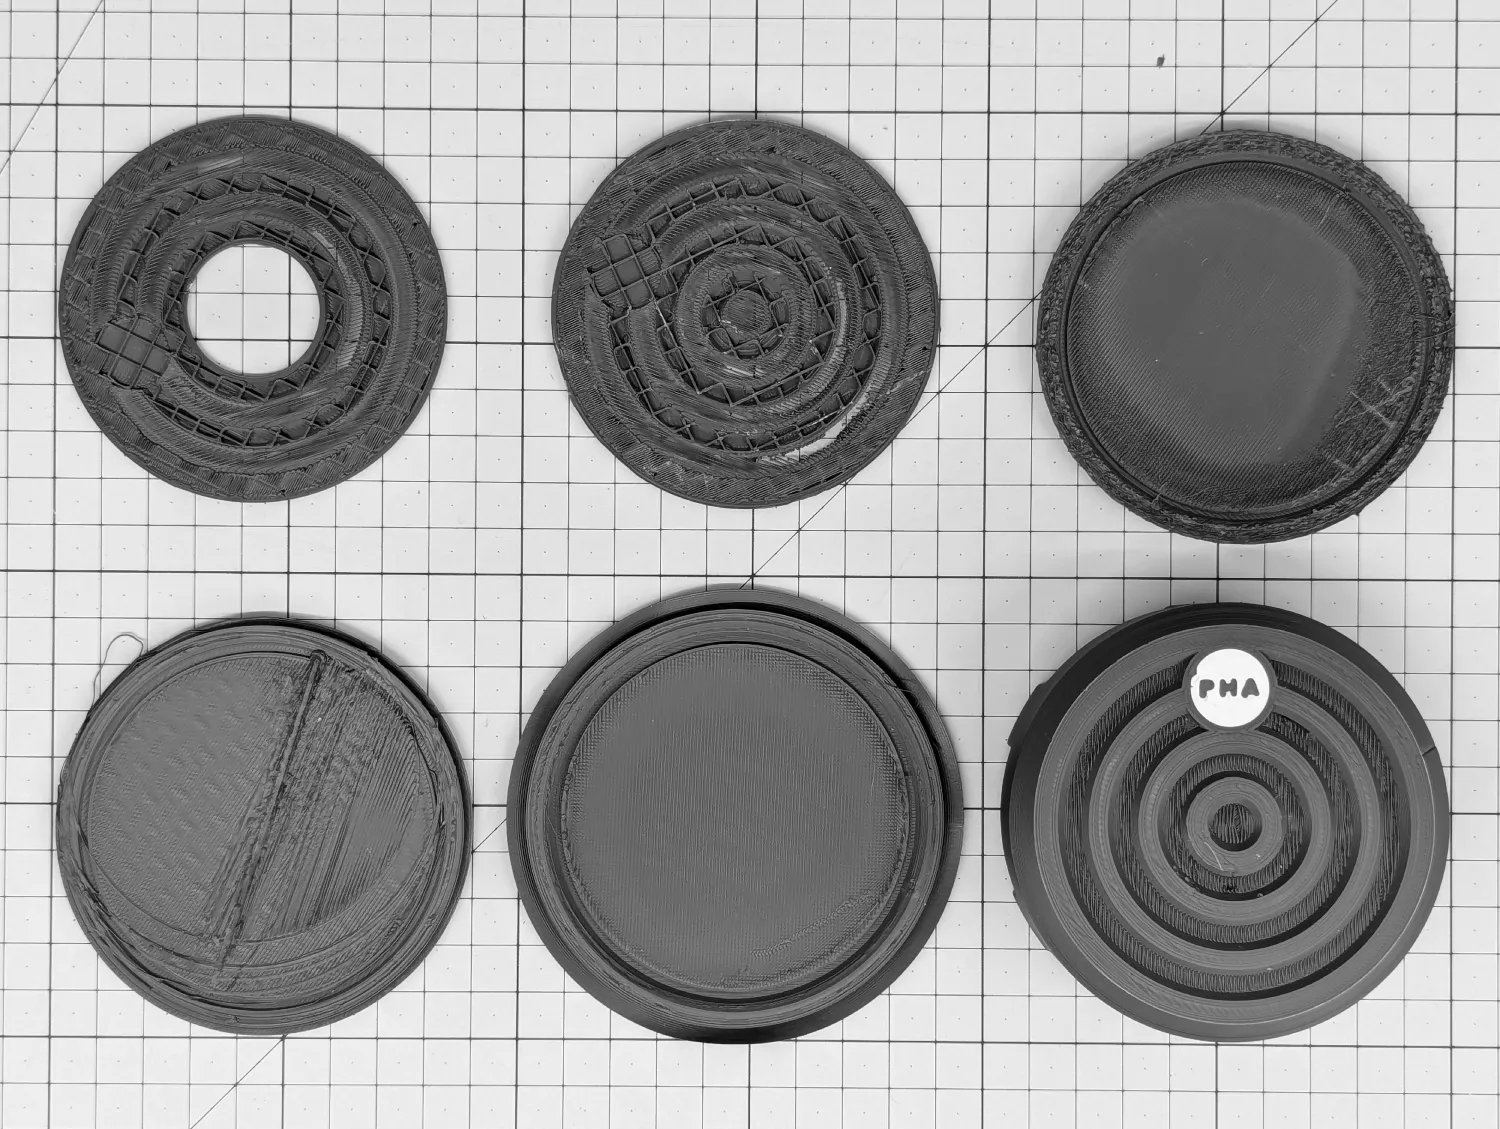
The undersides of both the Plant Put & Drain are ribbed. This helps stop them sliding around, the ribs providing grip for the undersides, and they also help mitigate warping during printing.
Angled Sides.
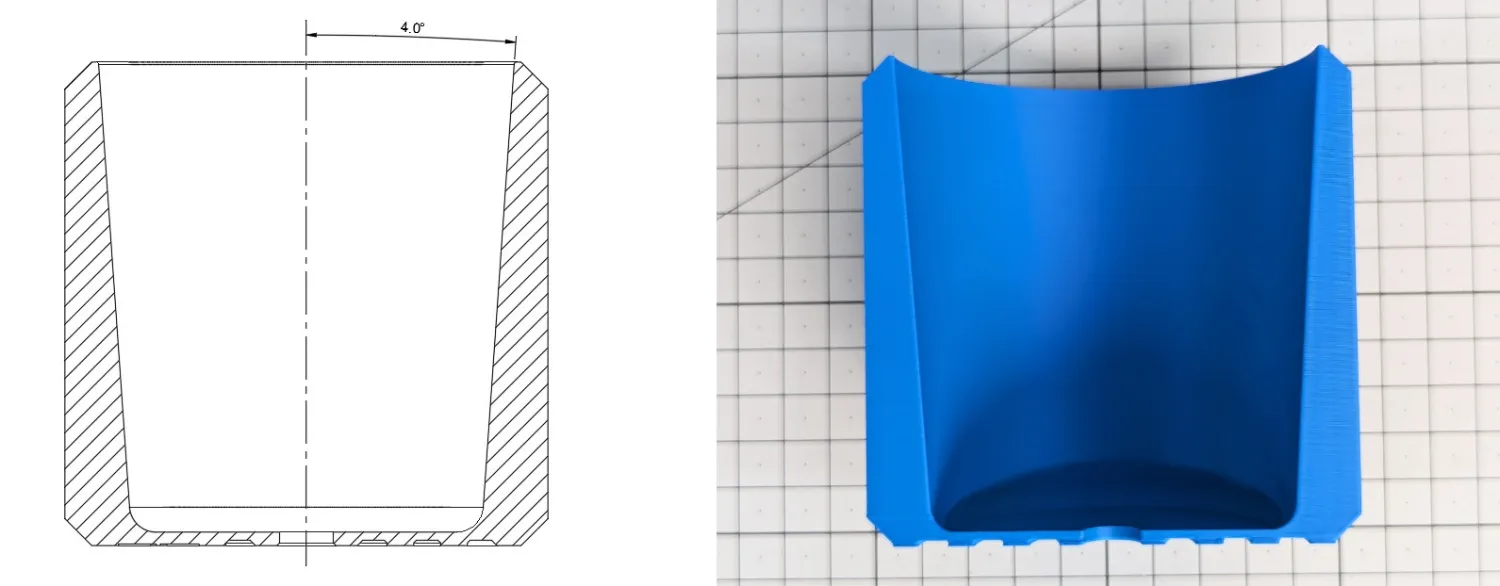
A four degree angle is modeled into each Plant Put’s interior cavity. This angle aids the removal of any plants from the Plant Put when the time eventually comes to upgrade to a larger Put.
Polymer ID.
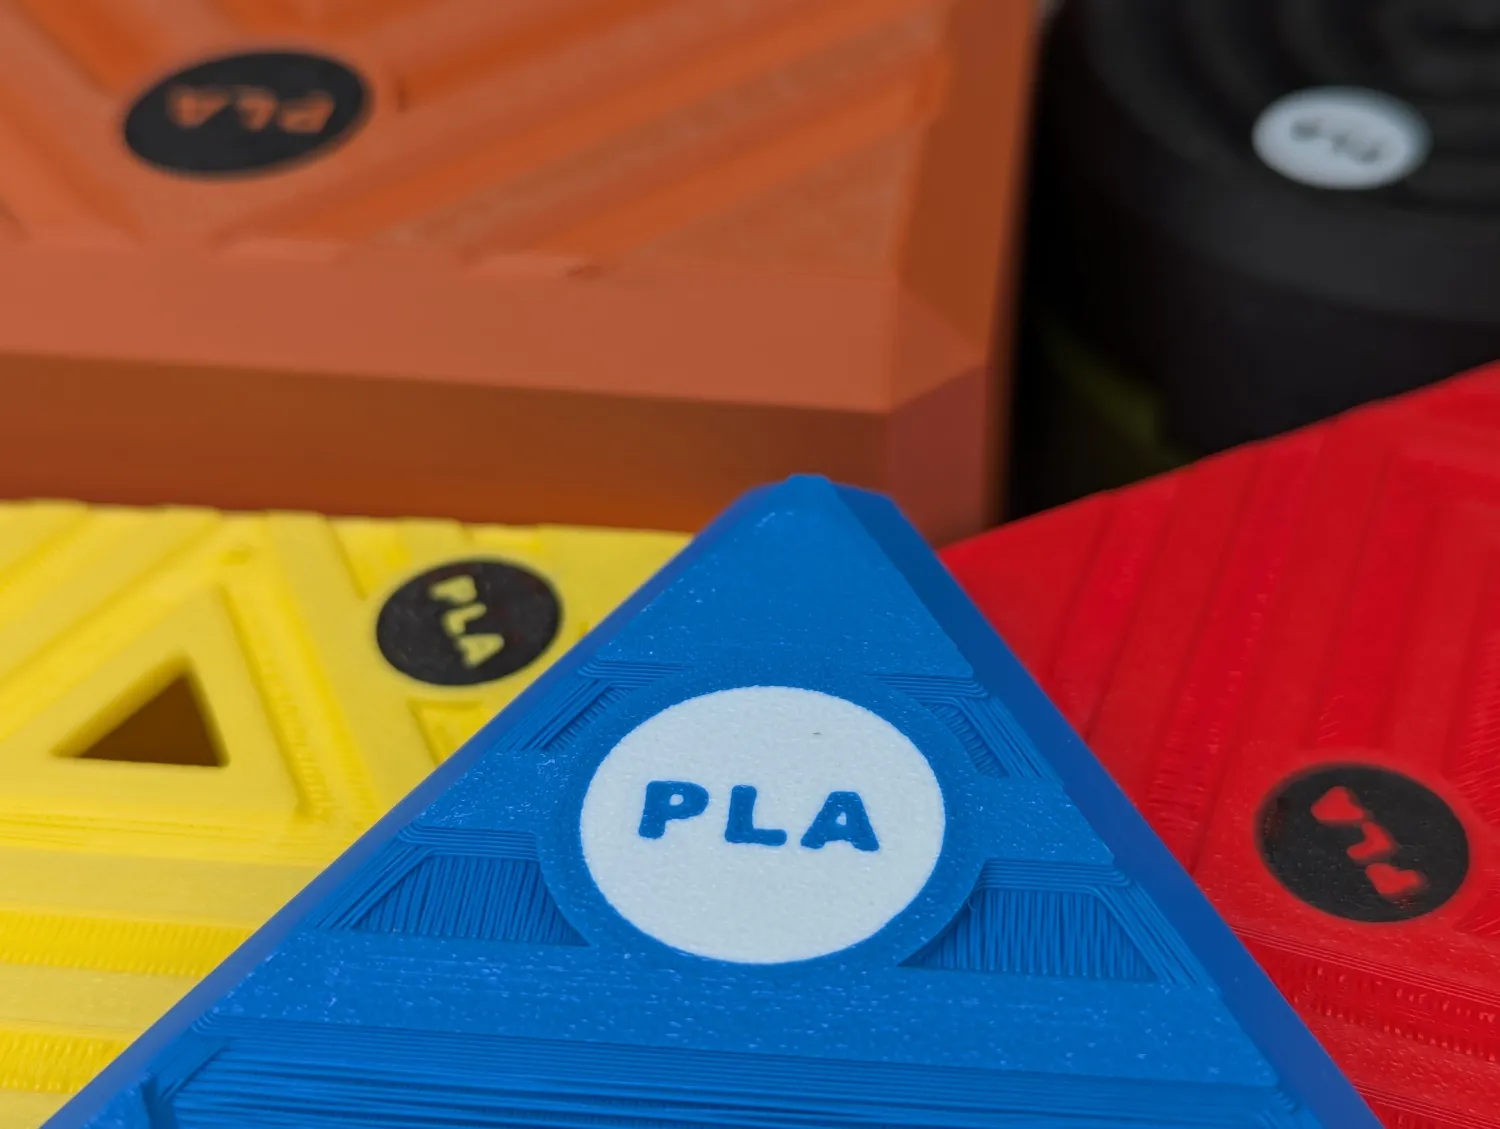
I have added 'PLA' to the underside of the Plant Put & Drain. Markers of this kind are important for recycling, because PLA is not usually recyclable at the kerbside and must be put into black-bag waste instead, check with your local waste collection service(s).
PLA is the recommended material for printing Plant Puts. However, if you want to up your green-game, PHA is greenest. PHA is home compostable, but it can be most ungentlemanly to print.
Additional versions are included with PHA IDs, and with no ID at all. Others can be added upon request.
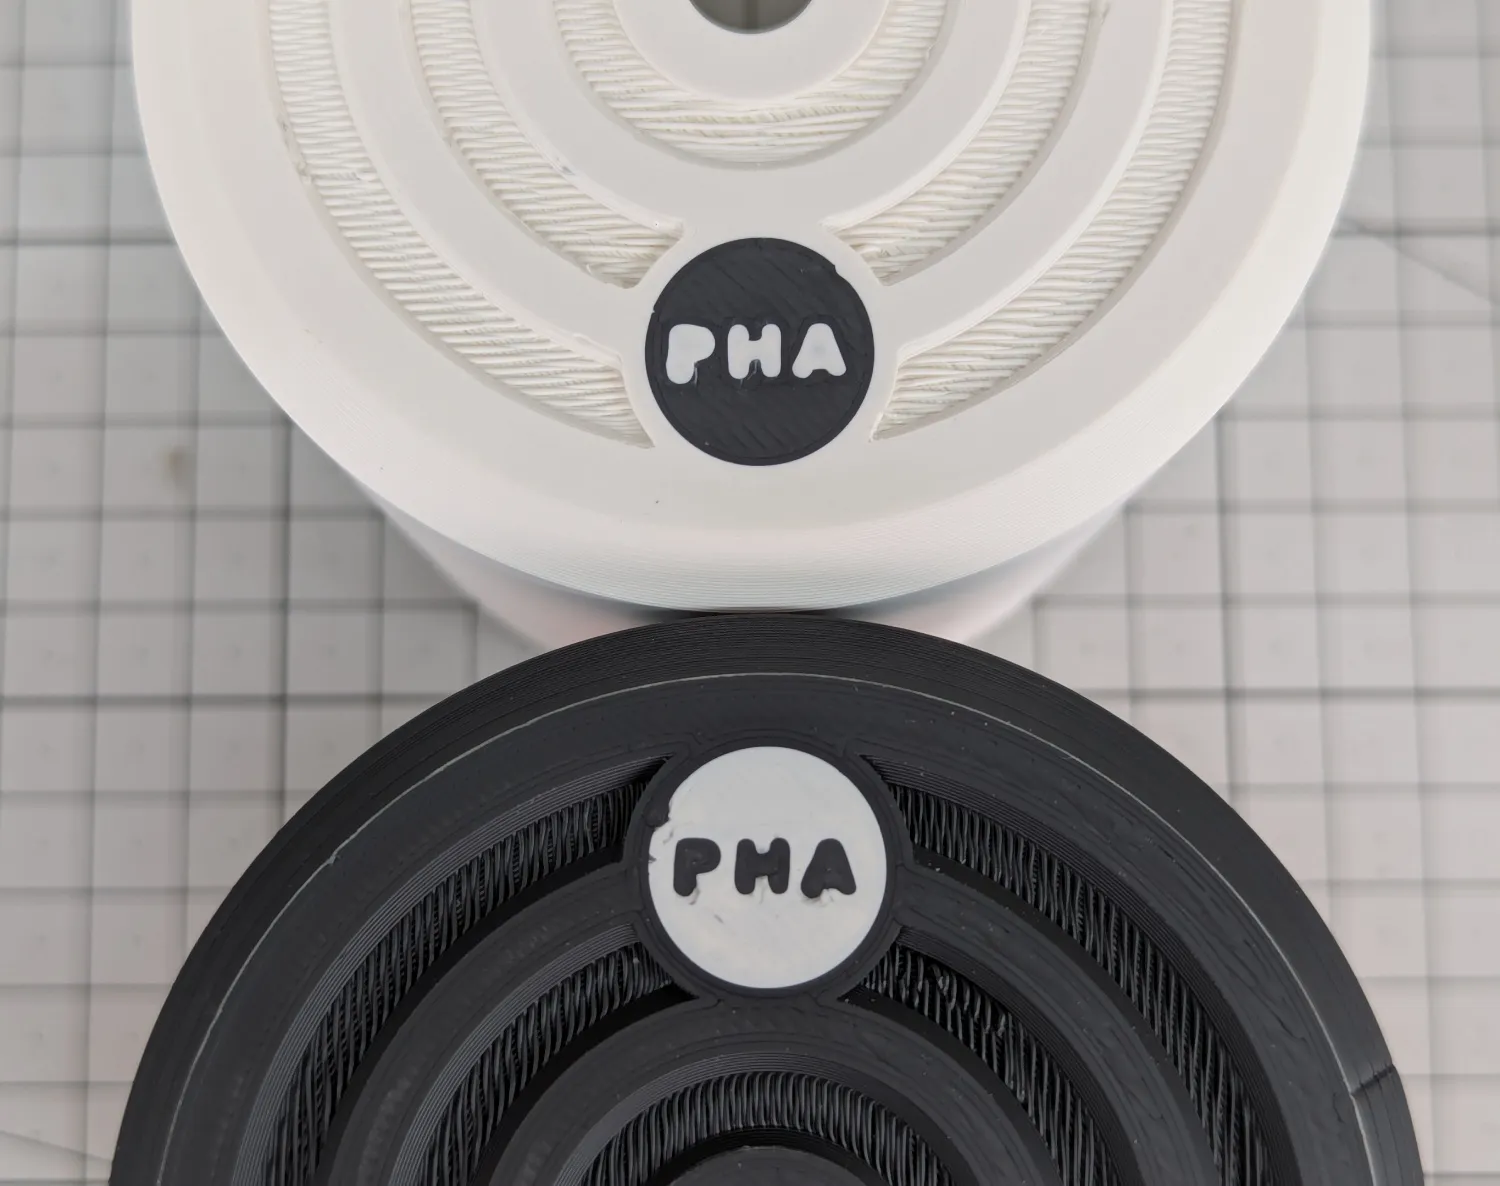
Frankly, there should be more material IDs in printed parts. Perhaps someone with the skills can integrate a script to generate the required markings in the slicer(s)?
To Print.
The Vase 2.0 Drains & Puts are all designed to fit into a 180x180x180 or larger build volume. They have been exported at high resolution so they will scale well for larger sizes.
I use the default profiles for the materials. When scaled to 50% & 75% I use a 0.4mm nozzle. For anything larger, I recommend a 0.6, or larger.
I have included profiles for Colorfabb's allPHA PHA material. This is a home-compostable biopolymer.
Download from MakerWorld.
Dry Your Filament.
The Plant Puts.
The Vase 2.0 Plan Puts are intentionally minimal in their design, some may even call it Art. Consider them canvases for your ideas, hopes and third party software aspirations.
A particular favourite of mine is bumpmesh.com (no association), and I have printed many Plant Puts with surface textures generated by Stefan’s (CNC Kitchen) website.
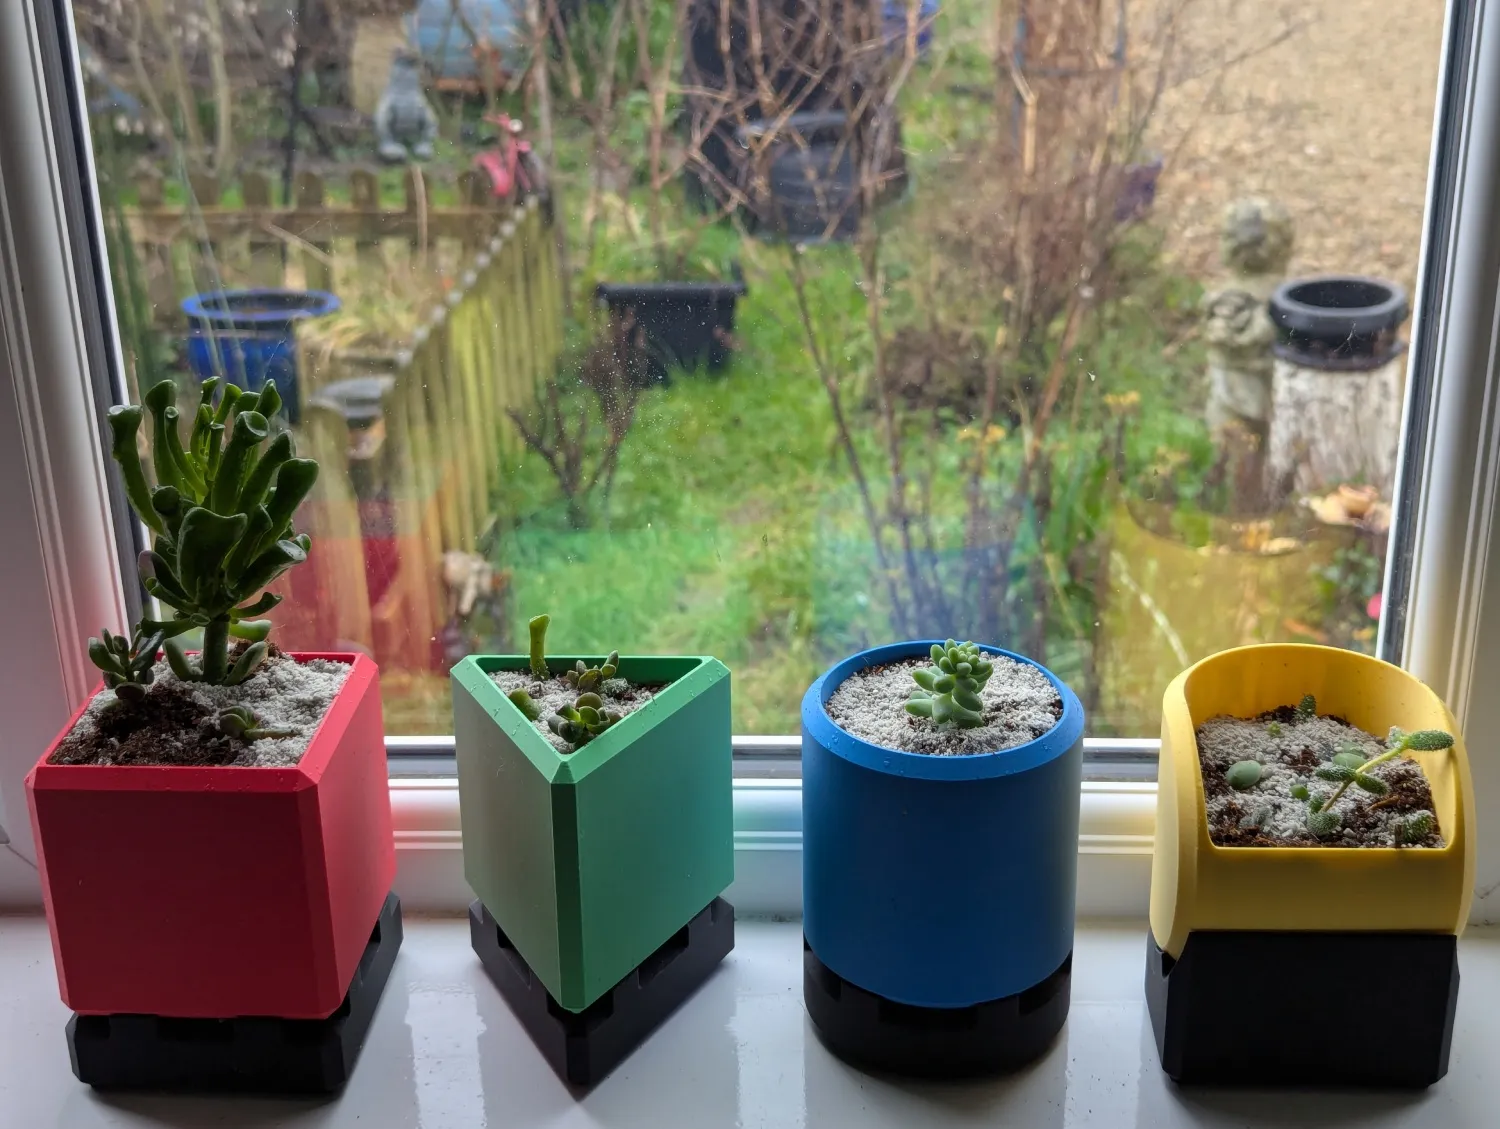
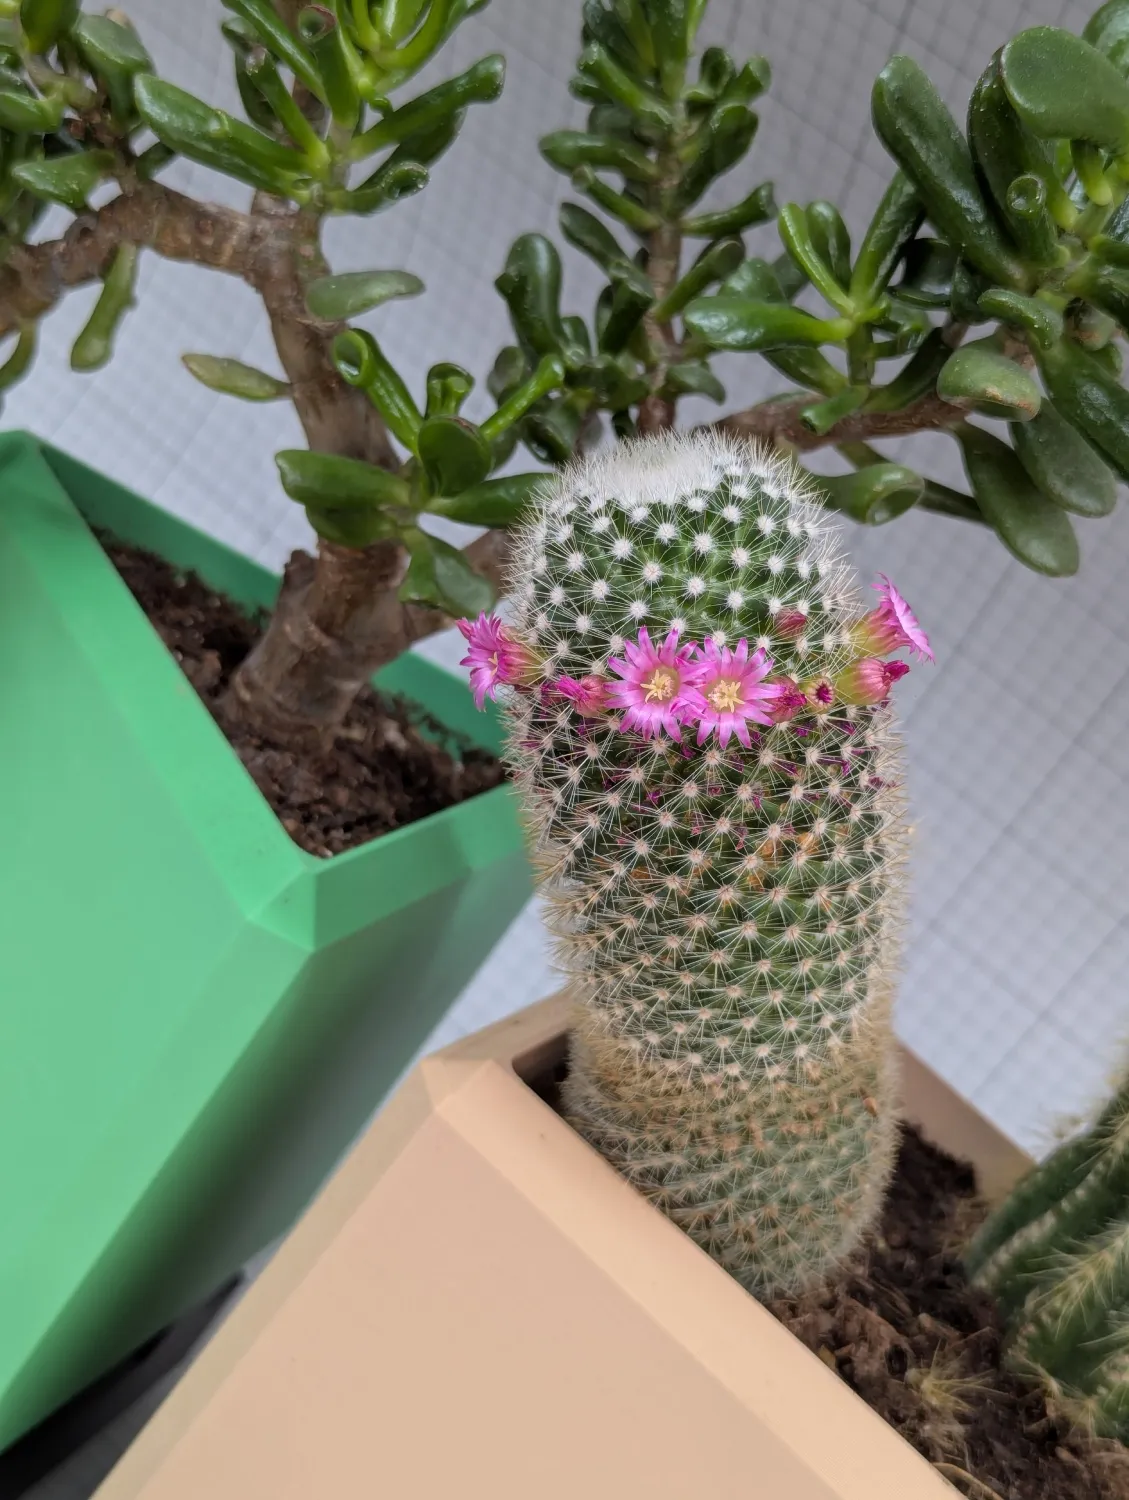
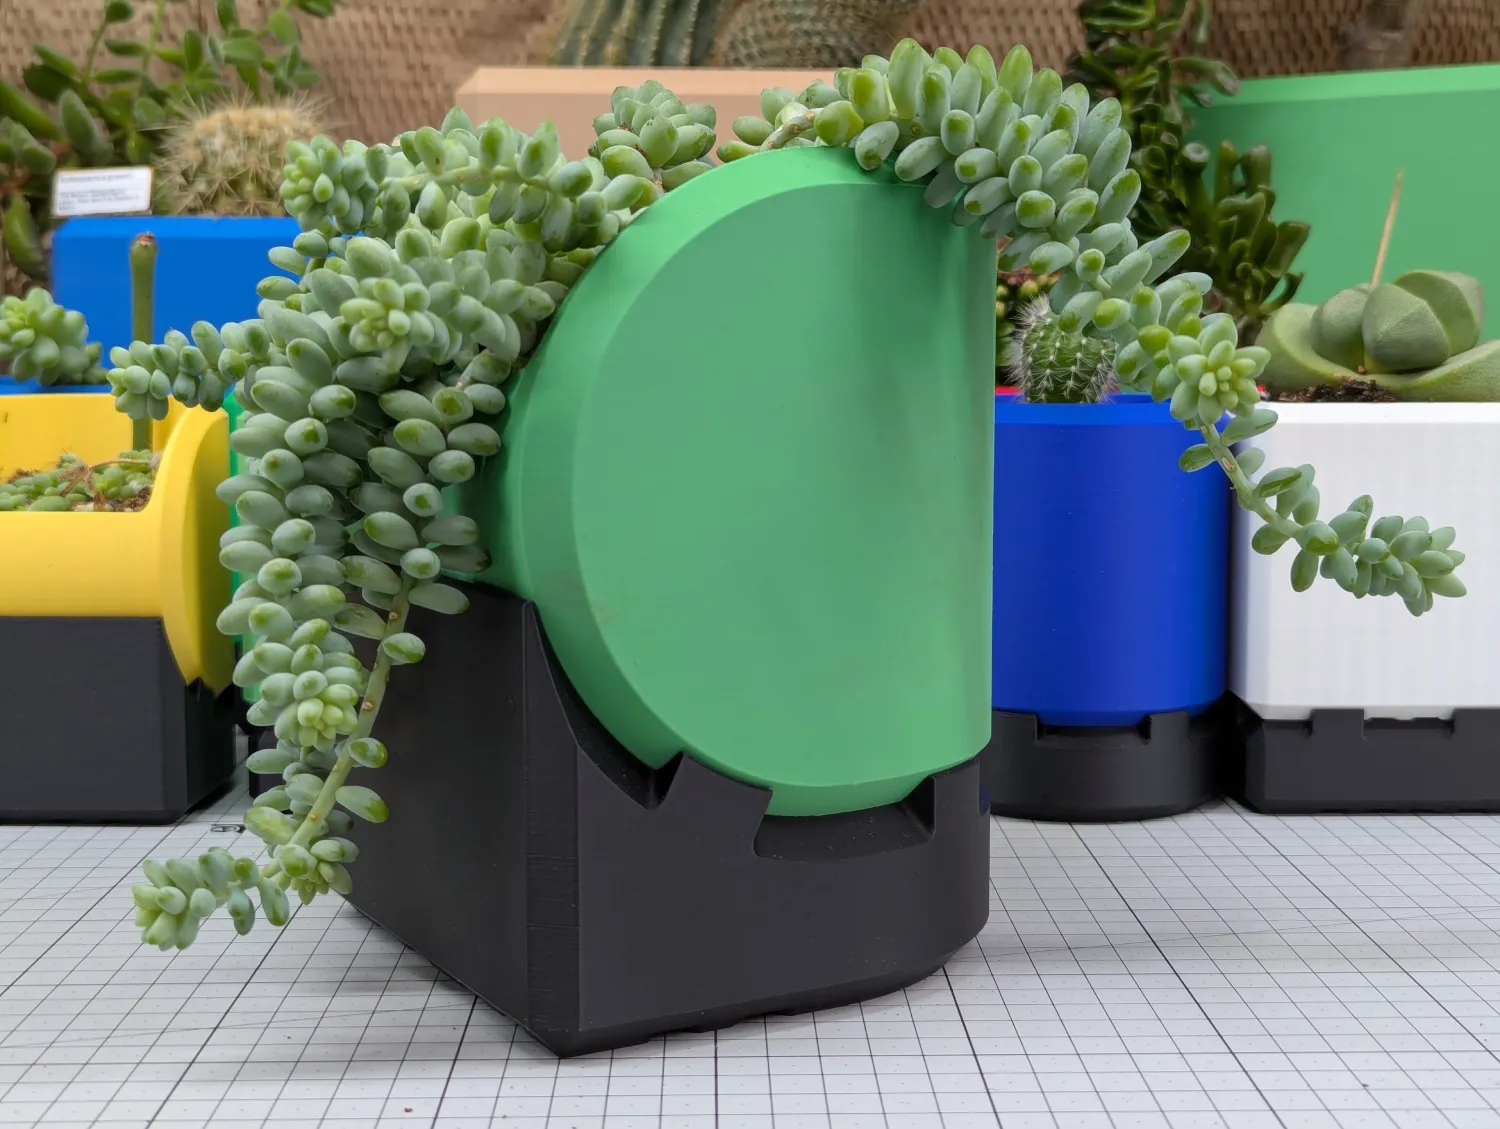
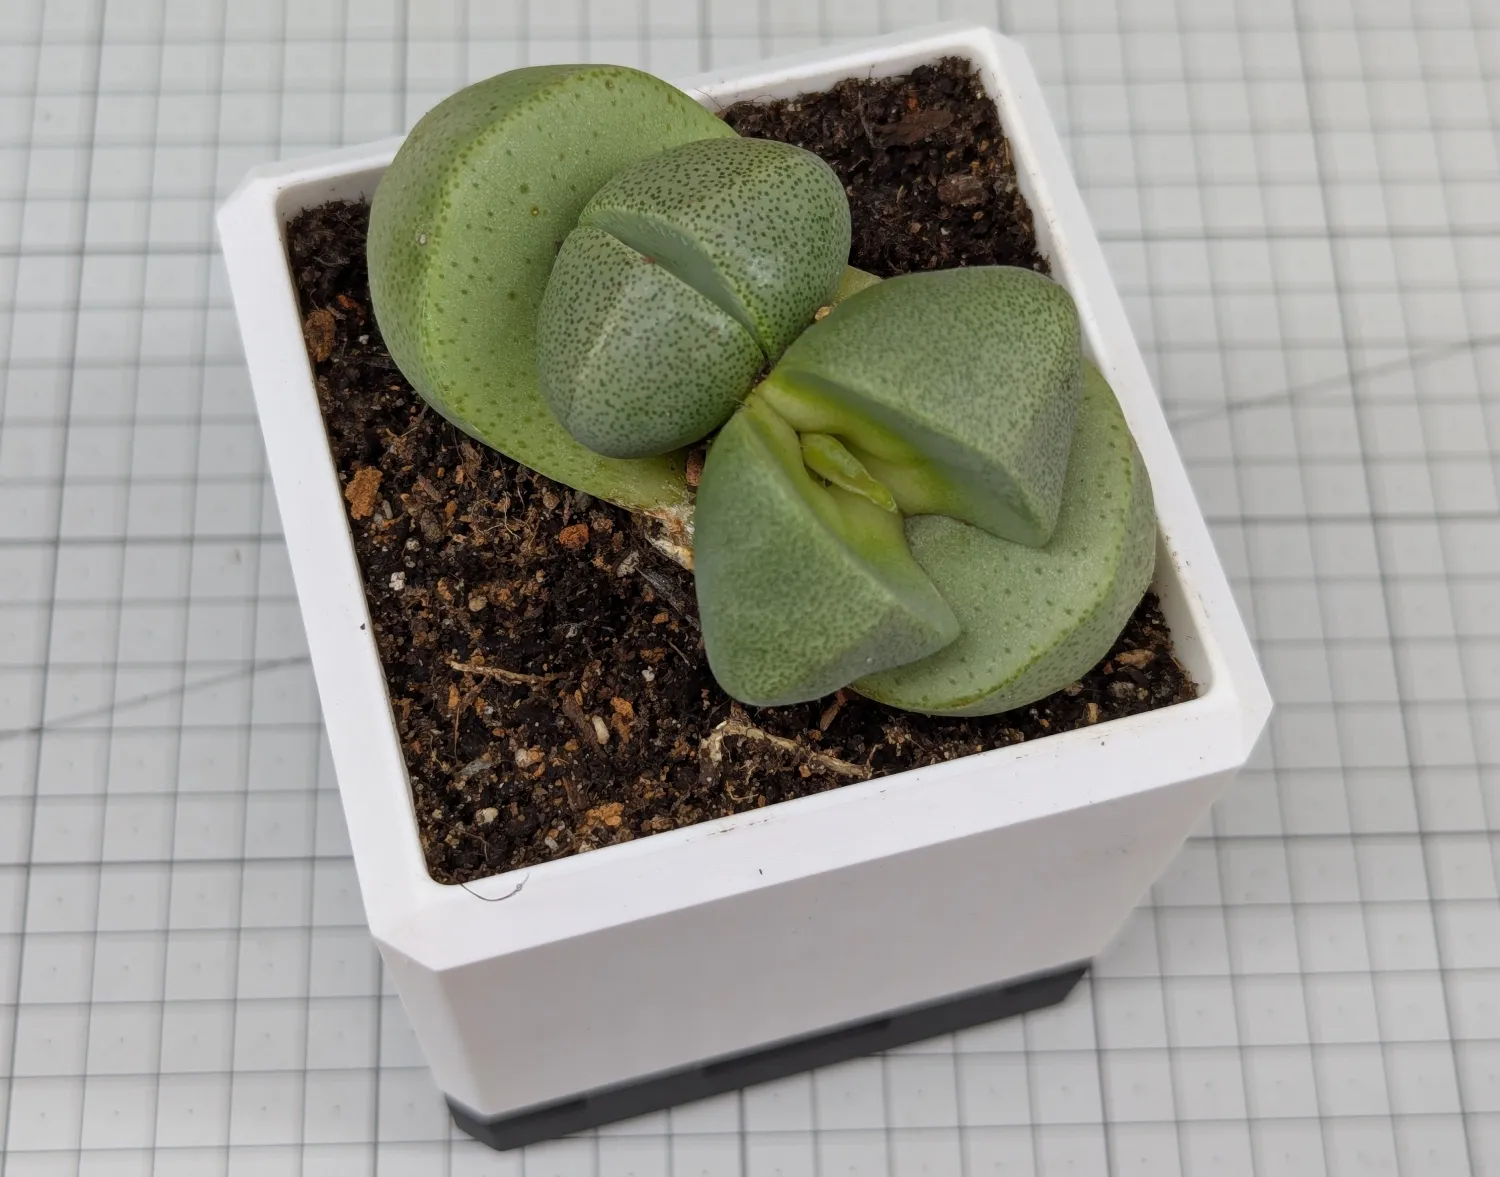
The range of PLA colours available makes it highly unlikely that any two people will have the same set of coloured Plant Puts. Below is just a small sample of what we have printed during testing and development of the Vase 2.0.
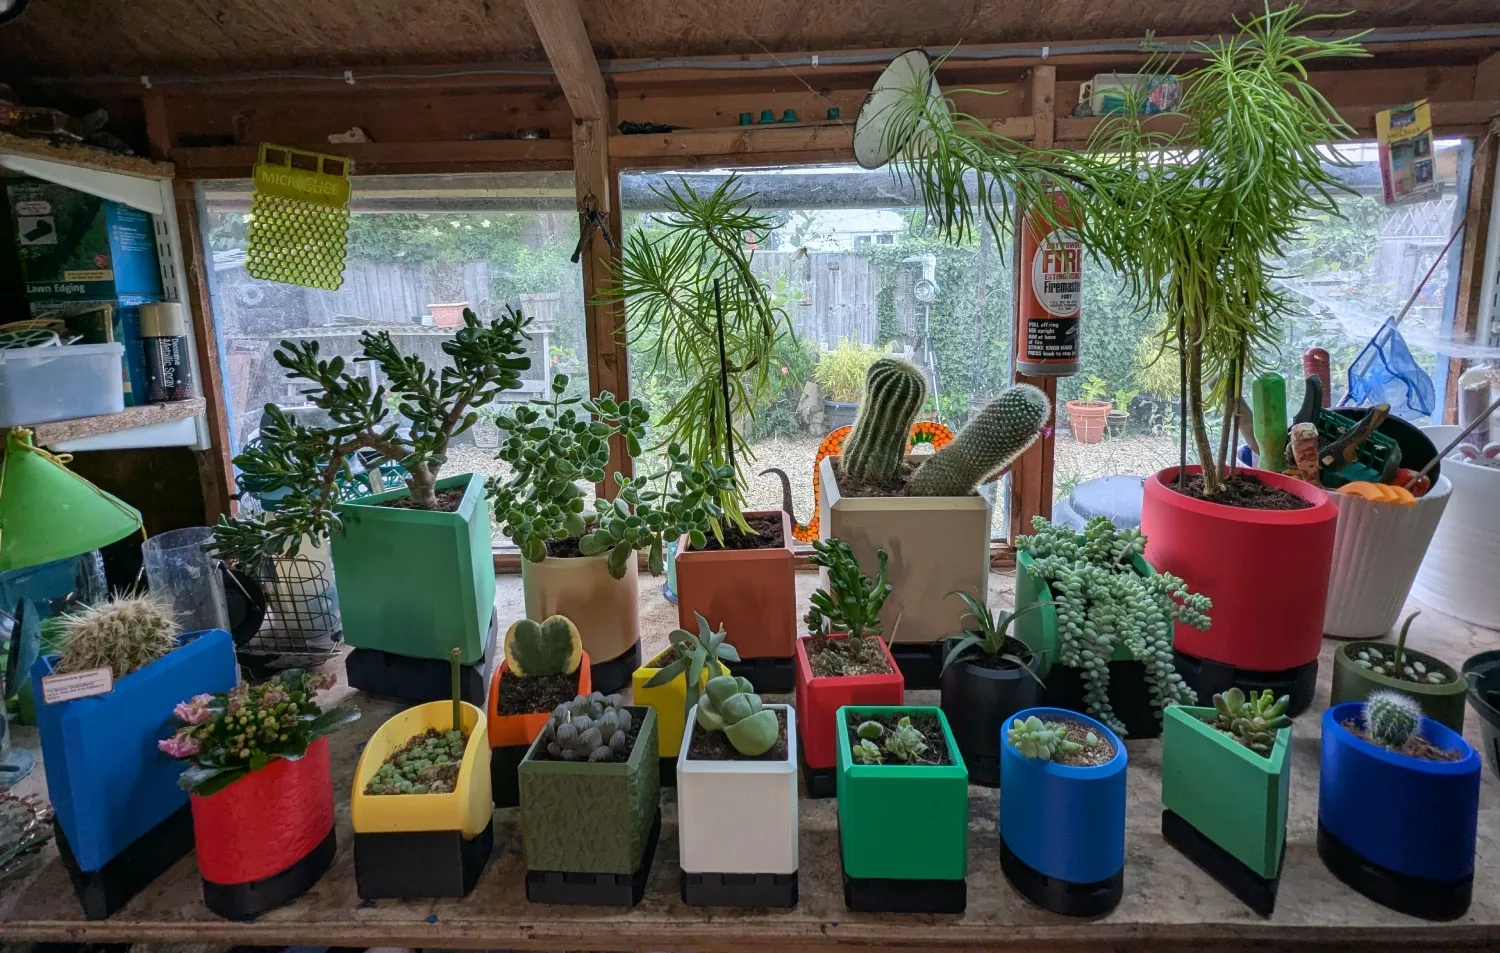
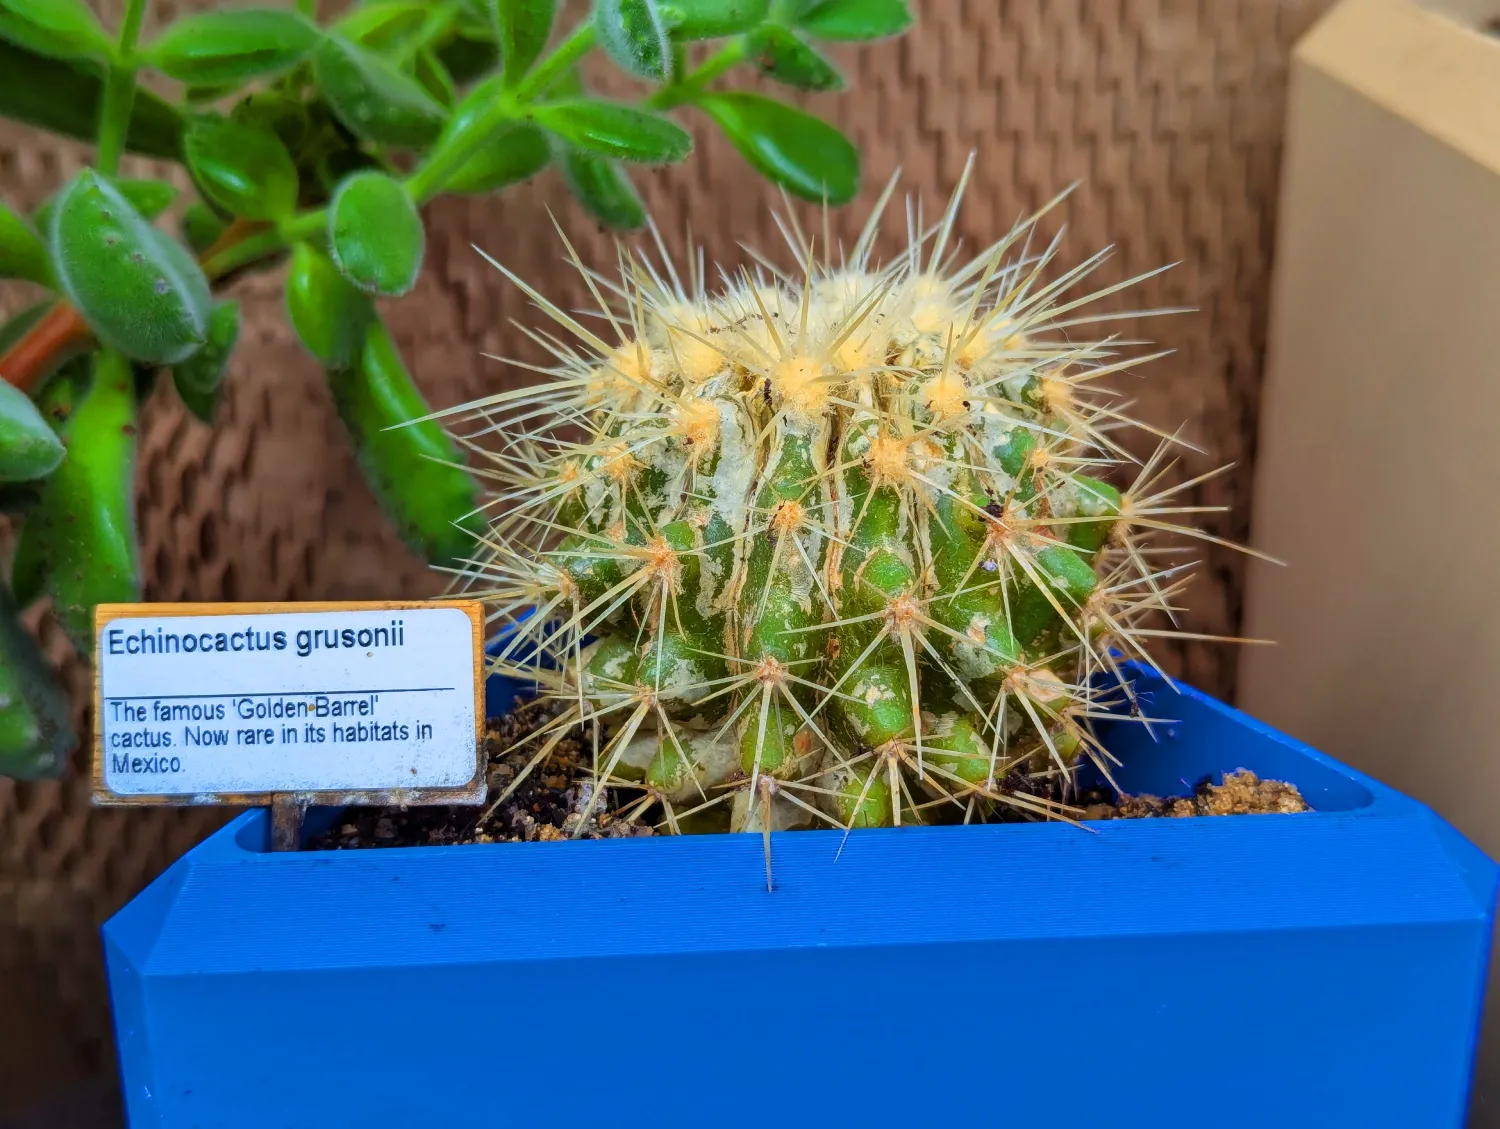
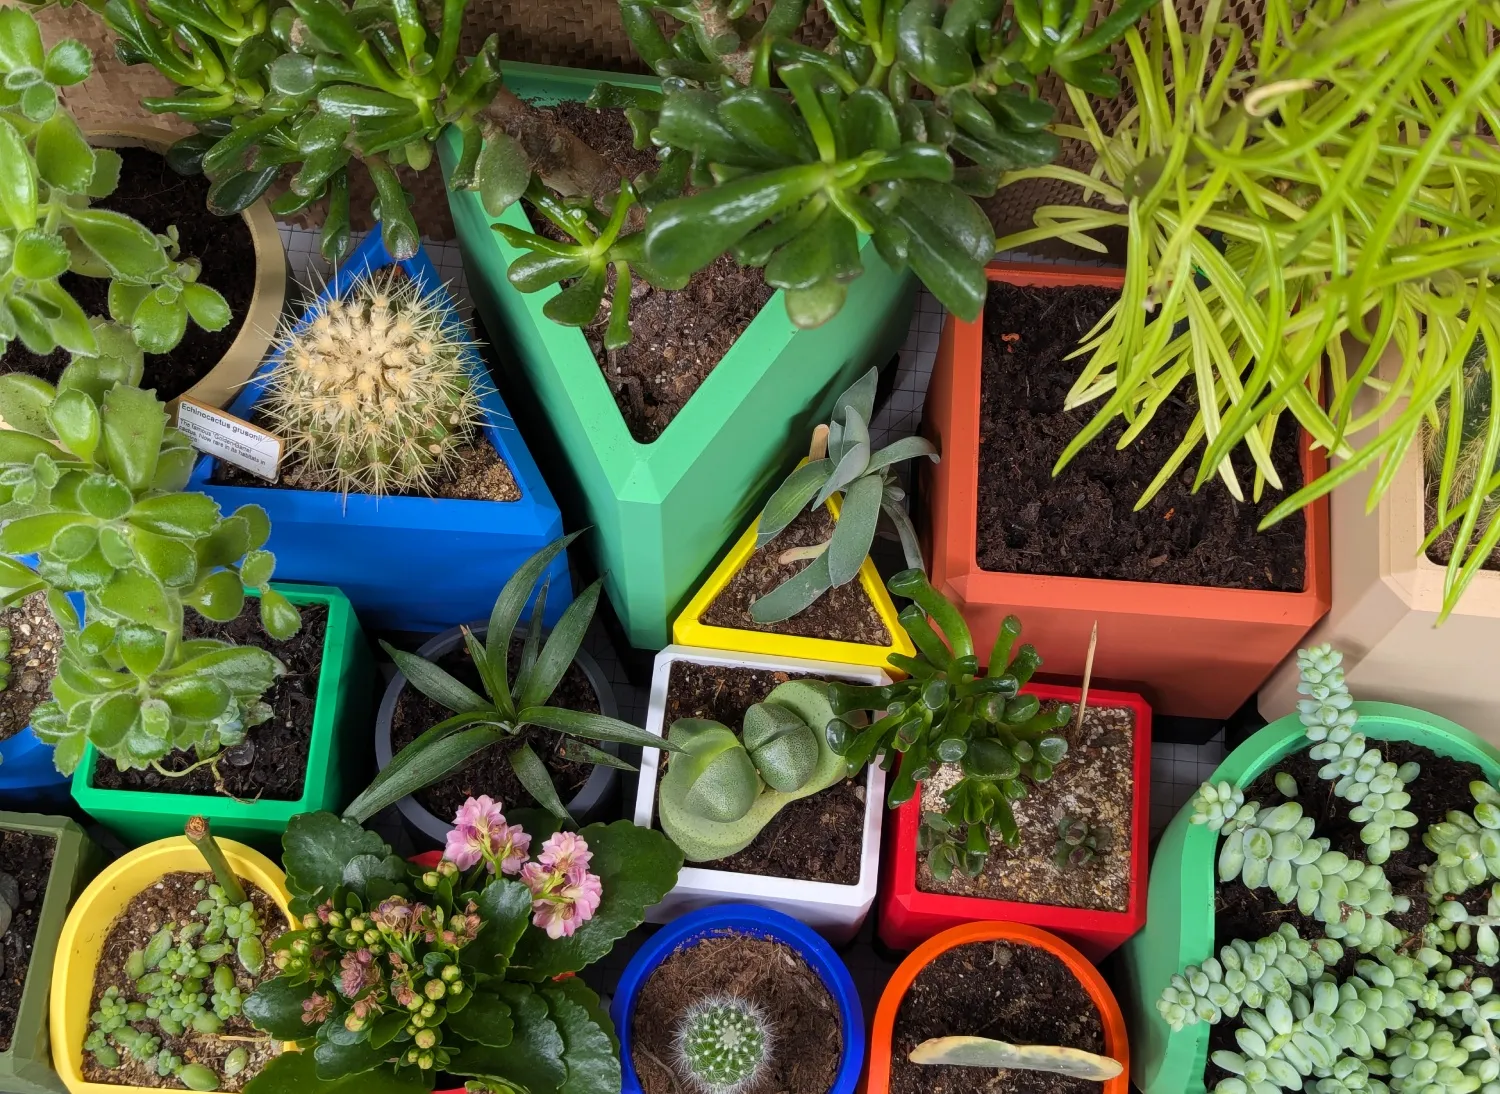
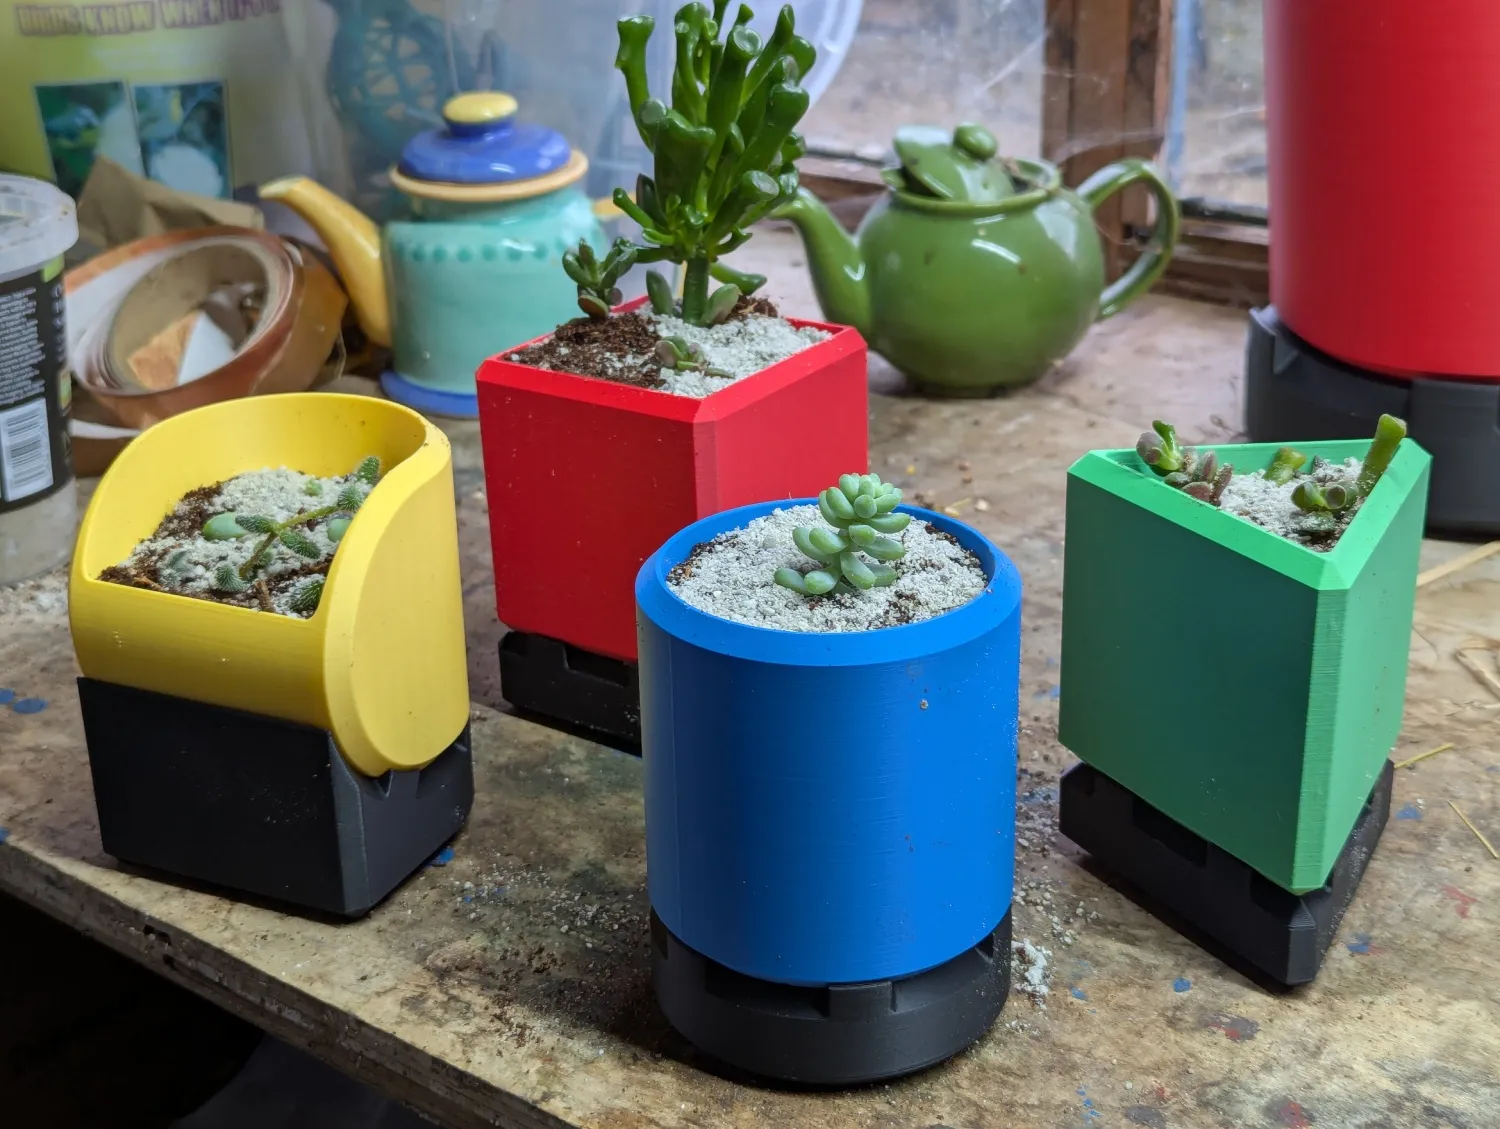
*This project was supposed to be a crowdfunding campaign to replace my mother's old and rotten garden shed, but everyone turned me down :( Instead of hoarding Vase 2.0 and keeping it to myself, I have decided to release it to everyone, for free, for the greater good, and to the benefit of us all.